 Now that the opening for the patch panel has been prepared and the adjacent latch post has been aligned, we are ready to fit the new panel.
First, I clamped the panel in place and sized it by marking it from the inside. I cut the panel 1/2 inch larger. This left the correct overlap.

The panel was then set in place with 3M Panel Bond and temporarily held in place with sheet metal screws around the perimeter. The adhesive was allowed to cure over night and I removed the screws this morning. The excess adhesive was ground flush with the patch panel and the surface was sanded with 80 grit paper. The panel and adjoining surfaces were cleaned thoroughly with metal cleaner.
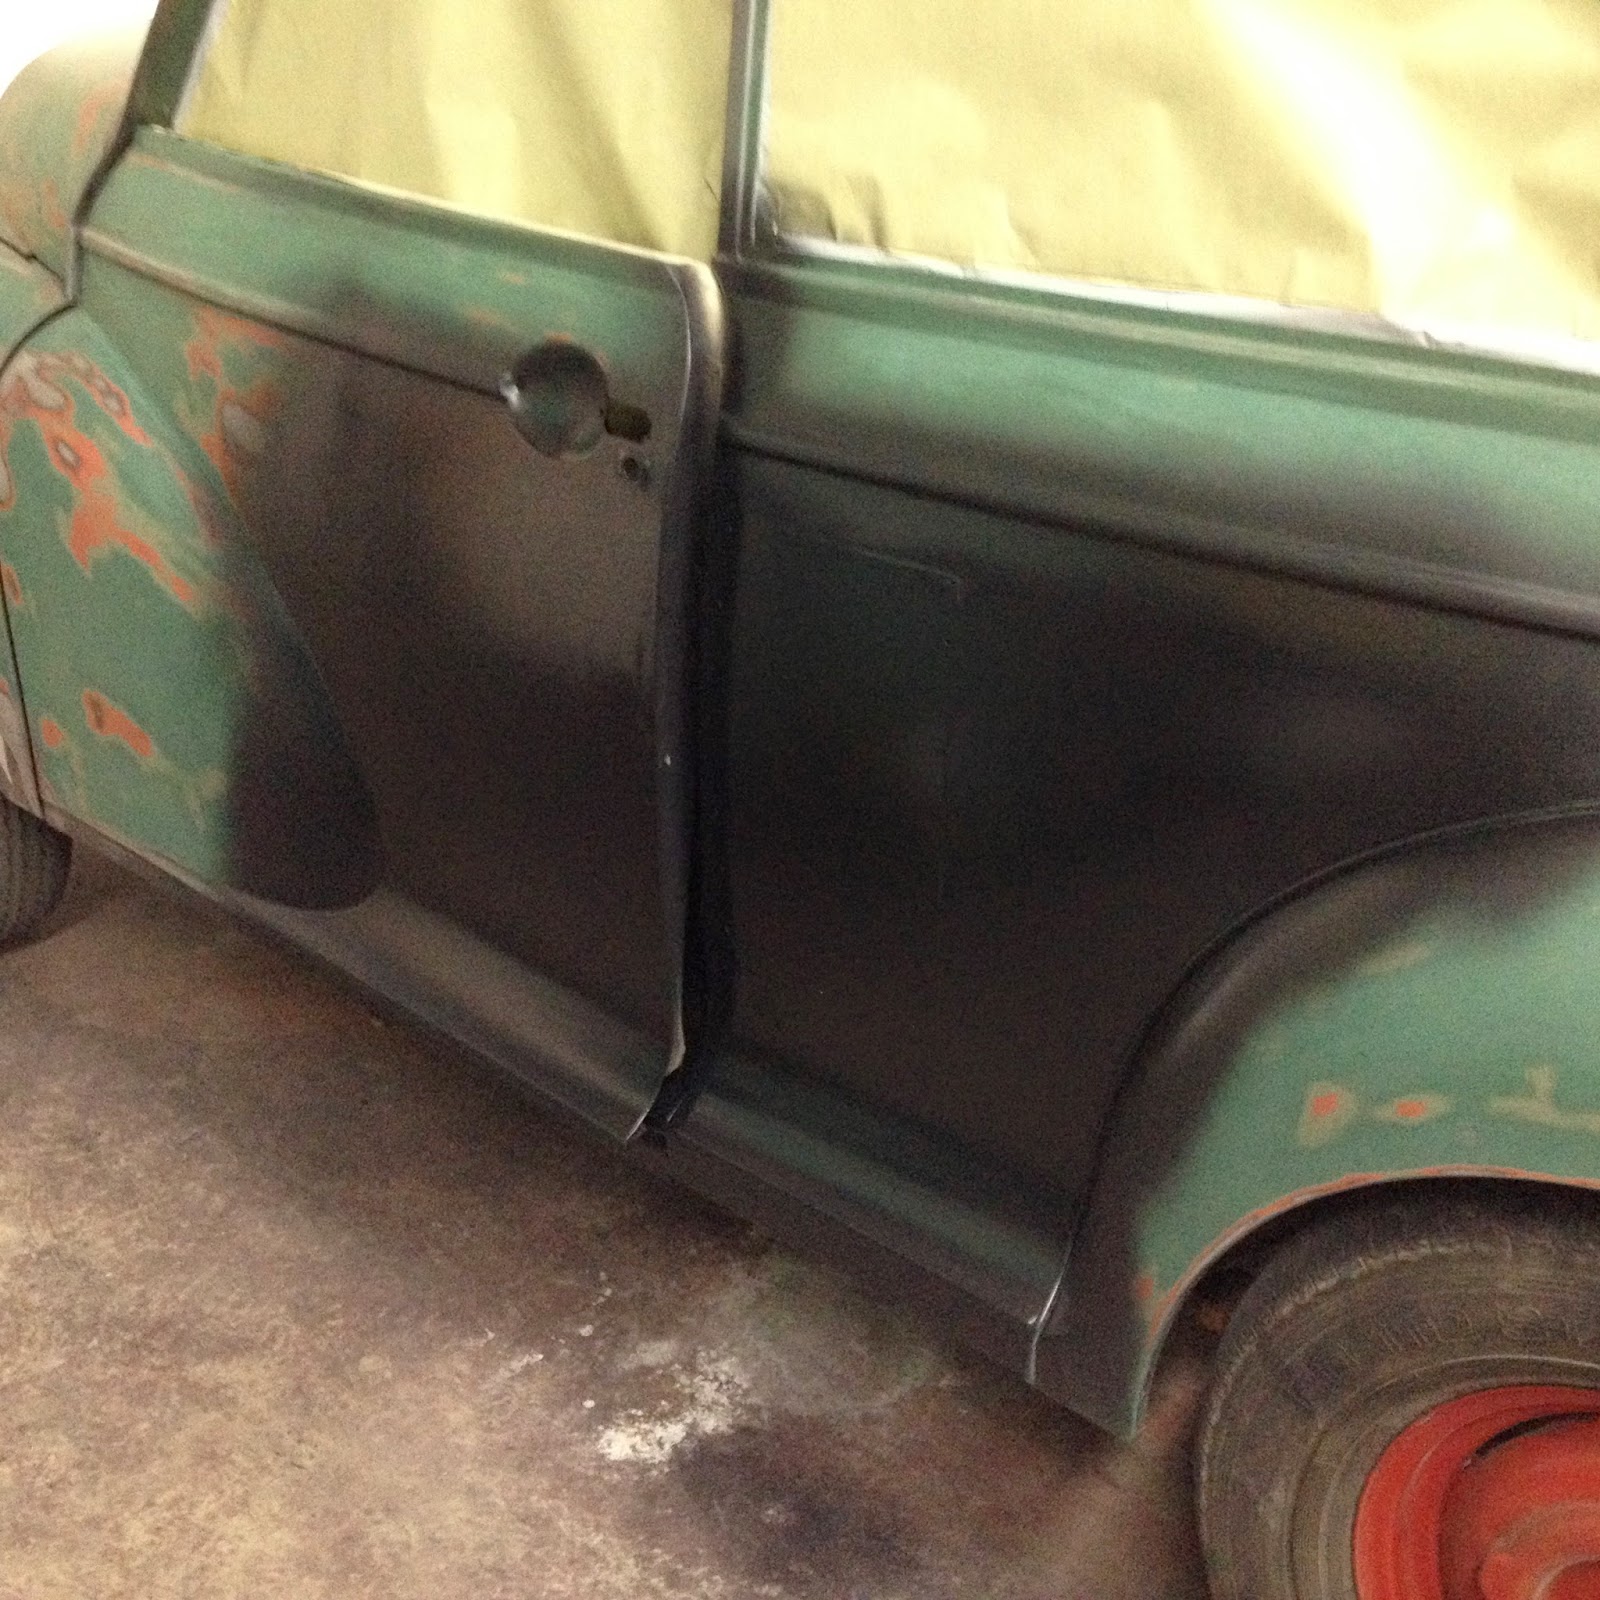
Finally, the damaged areas were primed with epoxy primer in preparation for the application of a minimal amount of body filler. As you can see in the photo to the right, the panel is in its original position. After the body work is completed, the damage will be undetectable.
Tom McCurry
Tommy's Topless Cars
843.338.2253