THIS BLOG IS DEDICATED TO THE PRESERVATION AND RESTORATION OF BRITISH AUTOMOBILES

Friday, May 29, 2015

FITTING THE CARPETING

Bill and I spent the morning fitting the few pieces of carpeting that did not require binding.  The door thresholds, front wheel house covers and rear seat platform must be fitted first.  Then the transmission cover and propeller shaft/handbrake cover are attached to the floor pans with snaps to allow easy removal of the gearbox  inspection cover.


The photo to the right shows the proper installation of the rear seat platform carpeting.


Stay tuned...
Tom McCurry
Tommy's Topless Cars
tommystoplesscars@yahoo.com
843-338-2253

Wednesday, May 27, 2015

CARPET AND UPHOLSTERY

Installing the carpet and upholstery in an automobile is like remodeling your living room.  Fitting the new plush carpeting and leather upholstery just makes it feel like home.  
My first inclination was to save all the photos of the interior components until the final installation sequence began.  However, unforeseen circumstances have delayed the final assembly.  So, I thought I would give you a preview of the interior color scheme.
Pictured on the right is the rear seat side panel and armrest.  The seats will be done in matching leather with green piping. The green accents match the exterior and interior paint.  


Today, we cut the carpeting using the original as a pattern.  Gus will be binding the tunnel and floor carpets as required and they will be installed tomorrow.

Stunning...
Tom McCurry
Tommy's Topless Cars
843-338-2253

Tuesday, May 26, 2015

FITTING THE BONNET

We have spent hours and hours assembling the engine compartment.  Today, we fitted the bonnet and fastened it into place.  
The first step in the process was to assemble the hinges, bracing and trim.  


The original color scheme was applied to the bonnet motif, restoring it to its original condition.


The "Flash", as it is called, was also restored to its original color and fitted to the bonnet.  Incidentally, it is also original to the car.


Finally, the bonnet is fitted to the body and the support and latch mechanism are installed and adjusted.


Amazingly, the bonnet latched and released properly on the first attempt.
The installation of the fender mirror completed the task.


It looks like a car again...
Tom McCurry
Tommy's Topless Cars
843-338-2253


Sunday, May 24, 2015

SOUND/HEAT MAT INSTALLATION COMPLETED

Installing the sound/heat mat is time consuming, but certainly worth the effort.  Jeremy, our new guy, came in today to help complete the task.  In the photo to the right you will notice the mat extends to a point just above the removable transmission tunnel.  Another form of insulation will cover the remaining area of the interior side of the firewall.


You will also notice that the insulation on the interior floor is not the same material as that used behind the door panels and beneath the rear seat.  The insulation used on the floor is much more durable than the other.
Tomorrow we will be cutting the carpet and applying the unbound pieces to the floor.
The interior trim should be delivered soon.


Coming together...
Tom McCurry
Tommy's Topless Cars
843-338-2253


Saturday, May 23, 2015

INTERIOR SOUND AND HEAT ABATEMENT

In an effort to reduce the road and engine noise as well as the heat generated by the engine and exhaust system, we chose a sound and heat shield mat for the floors and firewall.  This particular product is sold  by Eastwood.  I have used this product on several restorations and found it to perform very well.


 There was a bit of surface rust on the the floors,  especially on the driver's side.


I applied a coat of POR 15 to those areas to encapsulate the rust.  POR 15 is also an excellent product available through Eastwood.
Tomorrow, I will complete the installation of the sound/heat mat on the floors and firewall.  A different product will be used under the rear seat.
The end result will be a quieter, cooler interior.  


Stay Tuned...
Tom McCurry
Tommy's Topless Cars
843-338-2253

Friday, May 22, 2015

BEFORE AND AFTER

At times it is difficult to remember how Morris looked five months ago...but that's why we take photos. Probably the most significant change in the appearance of the car, at least at this point, is the engine bay.  
Although the engine and its related systems were virtually unmolested, it was quite obvious that it had never been restored.


As you can see, in the photo to the left, a great deal of attention has been given to every detail.  Every part has been cleaned and or repainted and every nut, bolt and clamp has been replaced.  
The original 1098 cc, single carburetor motor has been replaced with a newly rebuilt, modified 1275 cc, dual carburetor, period correct engine.  The horsepower has been increased almost twofold.  As many of the original parts as possible were restored and reused to preserve the cars authenticity.
The bonnet will be reinstalled on Monday.  Until then, our attention shifts to the interior of the car.


Enjoy...
Tom McCurry
Tommy's Topless Cars
843-338-2253


Thursday, May 21, 2015

TRIMMING THE DOORS

Previously, Bill and I had fitted new rubber around the vent windows and new felts in the operating window channels.  Today, we installed the operating window and door latch on the right side of the car.  


Glenn was busy too.  He was fitting the water temperature/oil pressure gauge to the dash.
 He also fitted the new turn signal switch and horn button.  The new steering wheel will be fitted after the interior is installed.  
Tomorrow, we will be installing the left side door trim and the sound/heat mat on the floors.


Tom McCurry
Tommy's Topless Cars
843-338-2253


Wednesday, May 20, 2015

FITTING THE BUMPERS AND GRILLE

Morris is beginning to resemble the beautiful automobile it was when it was new.  It is difficult for some to visualize the end result when restoring a car, but Lori and Bill and our team seem to have that talent.
Today, Glenn and I fitted the bumpers and grille.  Now, all that remains is the bonnet and the glass.


The grille and bonnet release mechanism was a bit difficult to assemble, but the end result is quite stunning.
Tomorrow, we will be fitting the door latches and windows.  We will also be installing the new Moto-Lita steering wheel and horn assembly.


I love this car...
Tommy's Topless Cars
843-338-2253


Tuesday, May 19, 2015

ENGINE START-UP

The start-up went very well, with only a few issues.  The fuel pump, shown in the photo to the left,  appeared to be new.  However, it did not function properly.  Fortunately, I had one in stock that had been previously used on an MGB.  We installed it and Morris started almost immediately.  Tomorrow, we will replace it with a new one and continue the break-in.


The Morris Minor 1000 was not fitted with oil pressure and water temperature gauges.  Bill requested that a Smiths combination oil and water gauge be installed in close proximity to the driver's line of sight.  I had a new one in stock and we installed it today.  It was a bit time consuming, but the end result was certainly worth the effort.  

Stay tuned...
Tom McCurry
Tommy's Topless Cars
843-338-2253

Monday, May 18, 2015

PREPARING FOR START-UP...CONTINUED

Today, Glenn and I spent the day going through the checklist and preparing the equipment for start-up.  
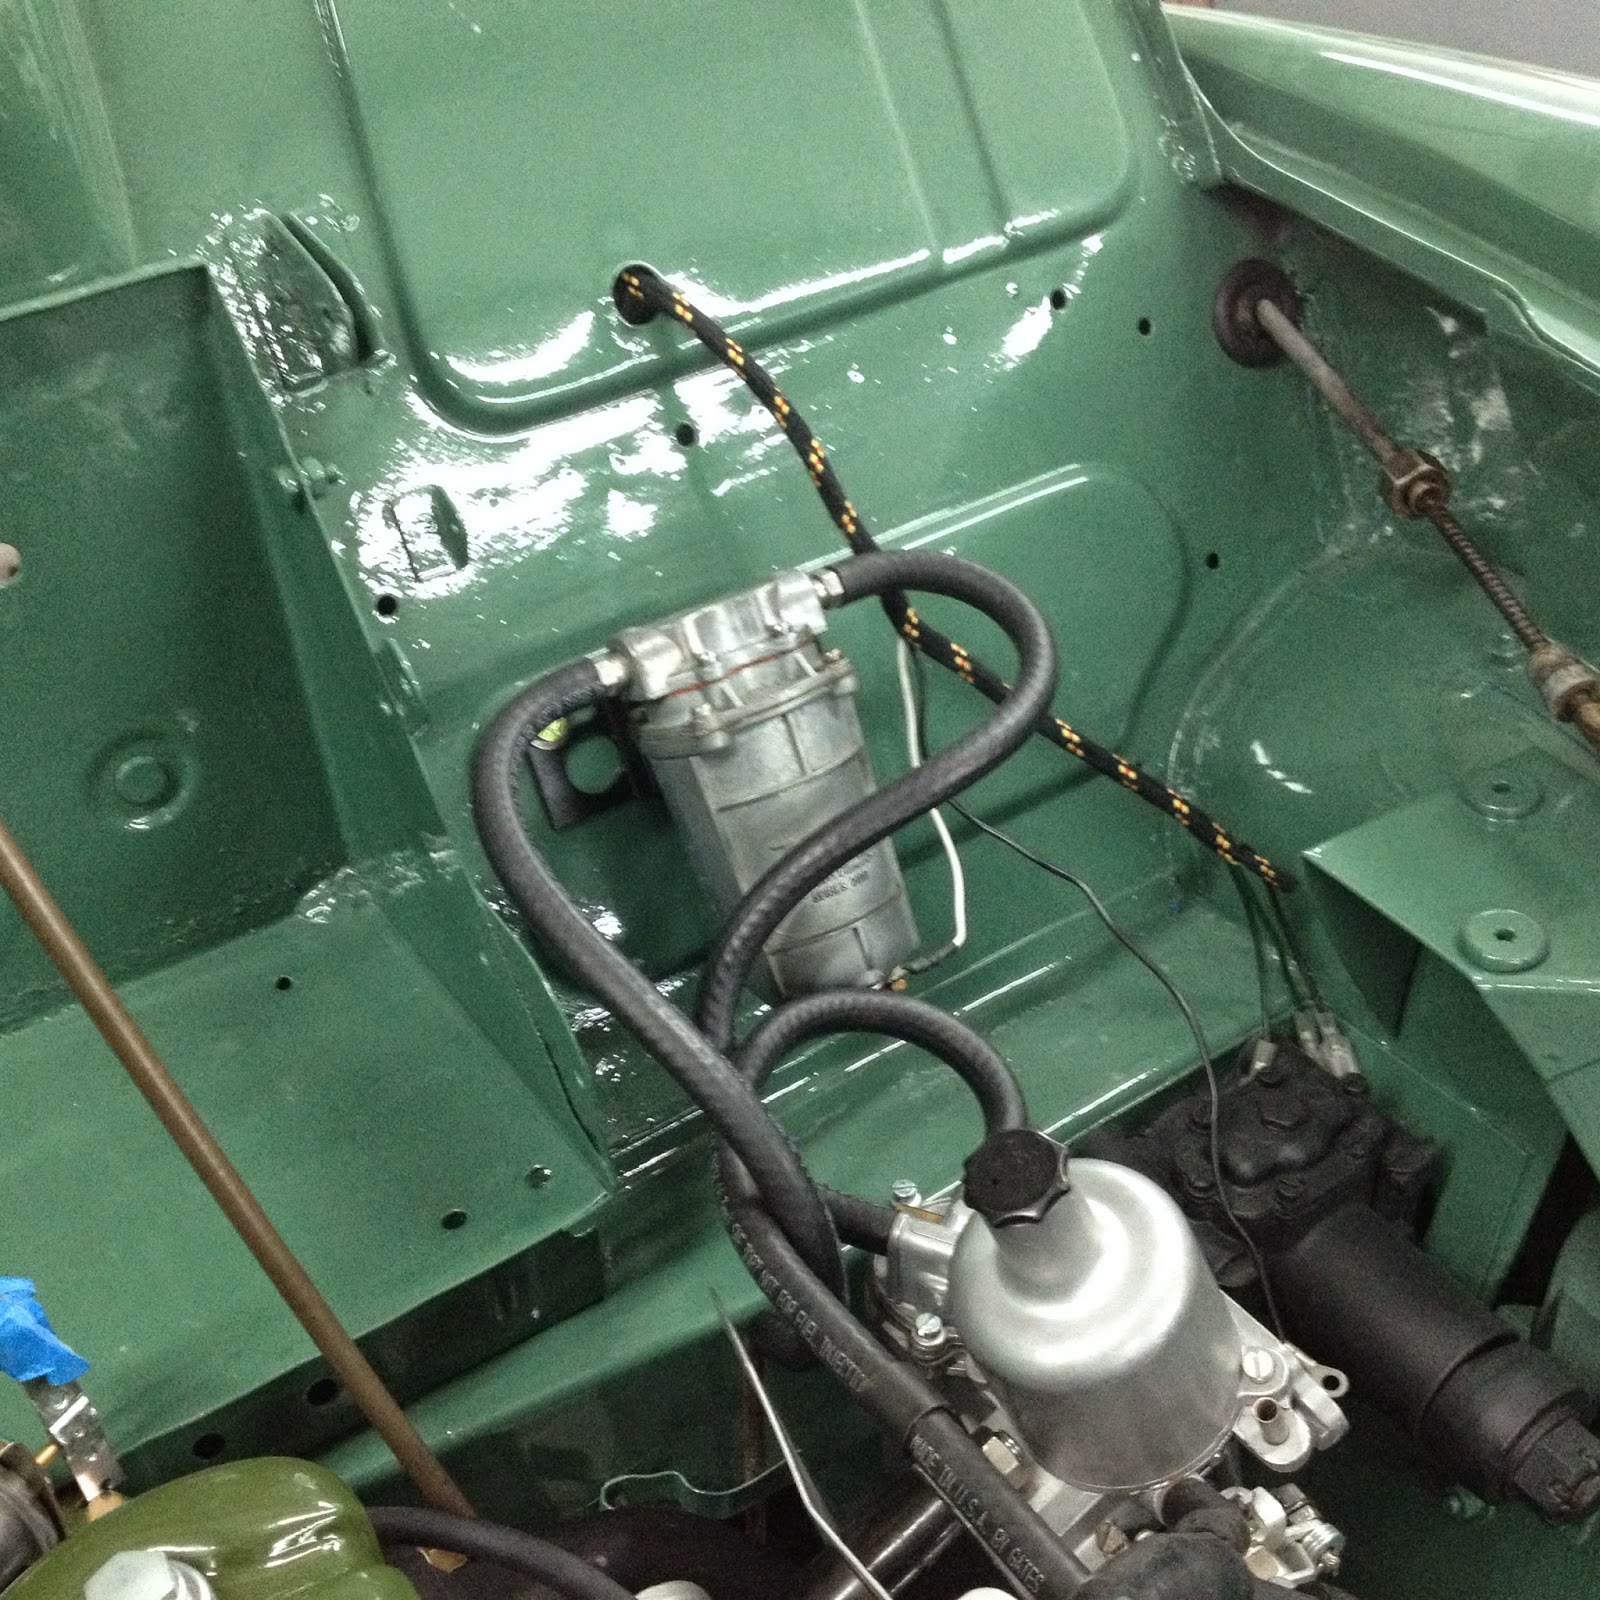
The accelerator cable, choke cable, fuel filter,  accumulator and radiator have been installed.  Also the necessary adjustments have been made to the carburetors and accelerator linkage.
Tomorrow morning, we will be initiating the start-up procedure.  Our engine builders, Paul and Ron will be supervising.


Are you excited???
Tom McCurry
Tommy's Topless Cars
843-338-2253