THIS BLOG IS DEDICATED TO THE PRESERVATION AND RESTORATION OF BRITISH AUTOMOBILES

Friday, April 3, 2015

FITTING THE CARBURETORS

The newly rebuilt carburetors arrived this morning.  Adapting the 1275 cc engine to the Morris is not difficult but fitting the later model peripheral equipment is challenging.  The twin SU carburetors, replacing the single SU, were easily fitted because they were original to the 1275.  
The fuel bowl vent lines and fuel connecting line will be installed tomorrow.

 Today, I also fitted the point set in the distributor.  Then, I installed the new N9Y Champion spark plugs and positioned the crank at top dead center.  From there, wiring the engine was simple.  The firing order, 1342, designated which spark plug should be connected to a particular wire on the distributor.  The plug wires shown in the photo to the right, will be replaced with new wires.


Tom McCurry
Tommy's Toplesss Cars
843.338.2253

Thursday, April 2, 2015

ENGINE NEARING COMPLETION

Now that the engine block and head have been assembled, the paintwork can begin.  While Bill was cleaning the block and head, I was busy masking the gasket surfaces and plugging the threaded holes.


You will notice that the ends of the oil pan were painted prior to assembly.  This procedure must be followed because the distance between the transmission mounting plate and the oil pan is minimal and difficult to paint after assembly.


The oil pan and those areas visible only from underneath were coated first.


 The engine was then repositioned so the top side of the block could be painted and all surfaces coated evenly.


 Then the newly restored valve cover and intake manifold assembly were fitted.
On the right side of the engine, the distributor and oil filter base were fitted.
We are awaiting the delivery of the new water pump and after its installation, the engine's "plumbing" can be completed.  The distributor components, spark plugs and wires will be installed tomorrow.  
Opening the bonnet on Morris will certainly be a sight to behold...better than new.


Stay tuned...
Tom McCurry
Tommy's Topless Cars
843.338.2253


Wednesday, April 1, 2015

REFINISHING ENGINE PARTS

Restoring a fine automobile, such as Morris, requires a great deal of attention to detail.  Especially in the engine compartment, it is important to refinish every component, bracket, nut and bolt.  If this isn't done, you will regret it.  To me there is nothing worse than flawless paintwork and rusty bolts and brackets.
I spent the past few days sandblasting and refinishing peripheral engine parts.  Now that the engine assembly is nearing completion, we will be cleaning and painting the block and head.  Check the blog tomorrow for photos of the new engine.

Tom McCurry
Tommy's Topless Cars
843.338.2253
Tuesday, March 31, 2015

ENGINE BUILDING CONTINUED

Today, Paul and Ron completed the assembly of the new engine.  The pistons were fitted in the cylinders and the cylinder head installed and assembled.  After completing the assembly, the valves were adjusted to the cold setting.  They will be adjusted again after the initial start-up while the engine is hot.


The oil pan has been sandblasted and primed.  It will be fitted tomorrow.  The valve cover has been restored to its original glory but it will not be fitted until the engine is installed.
Thursday the engine will be cleaned and the original green finish will be applied.


More to follow...
Tom McCurry
Tommy's Topless Cars
843.338.2253


Thursday, March 26, 2015

MORRIS IN PRIMER

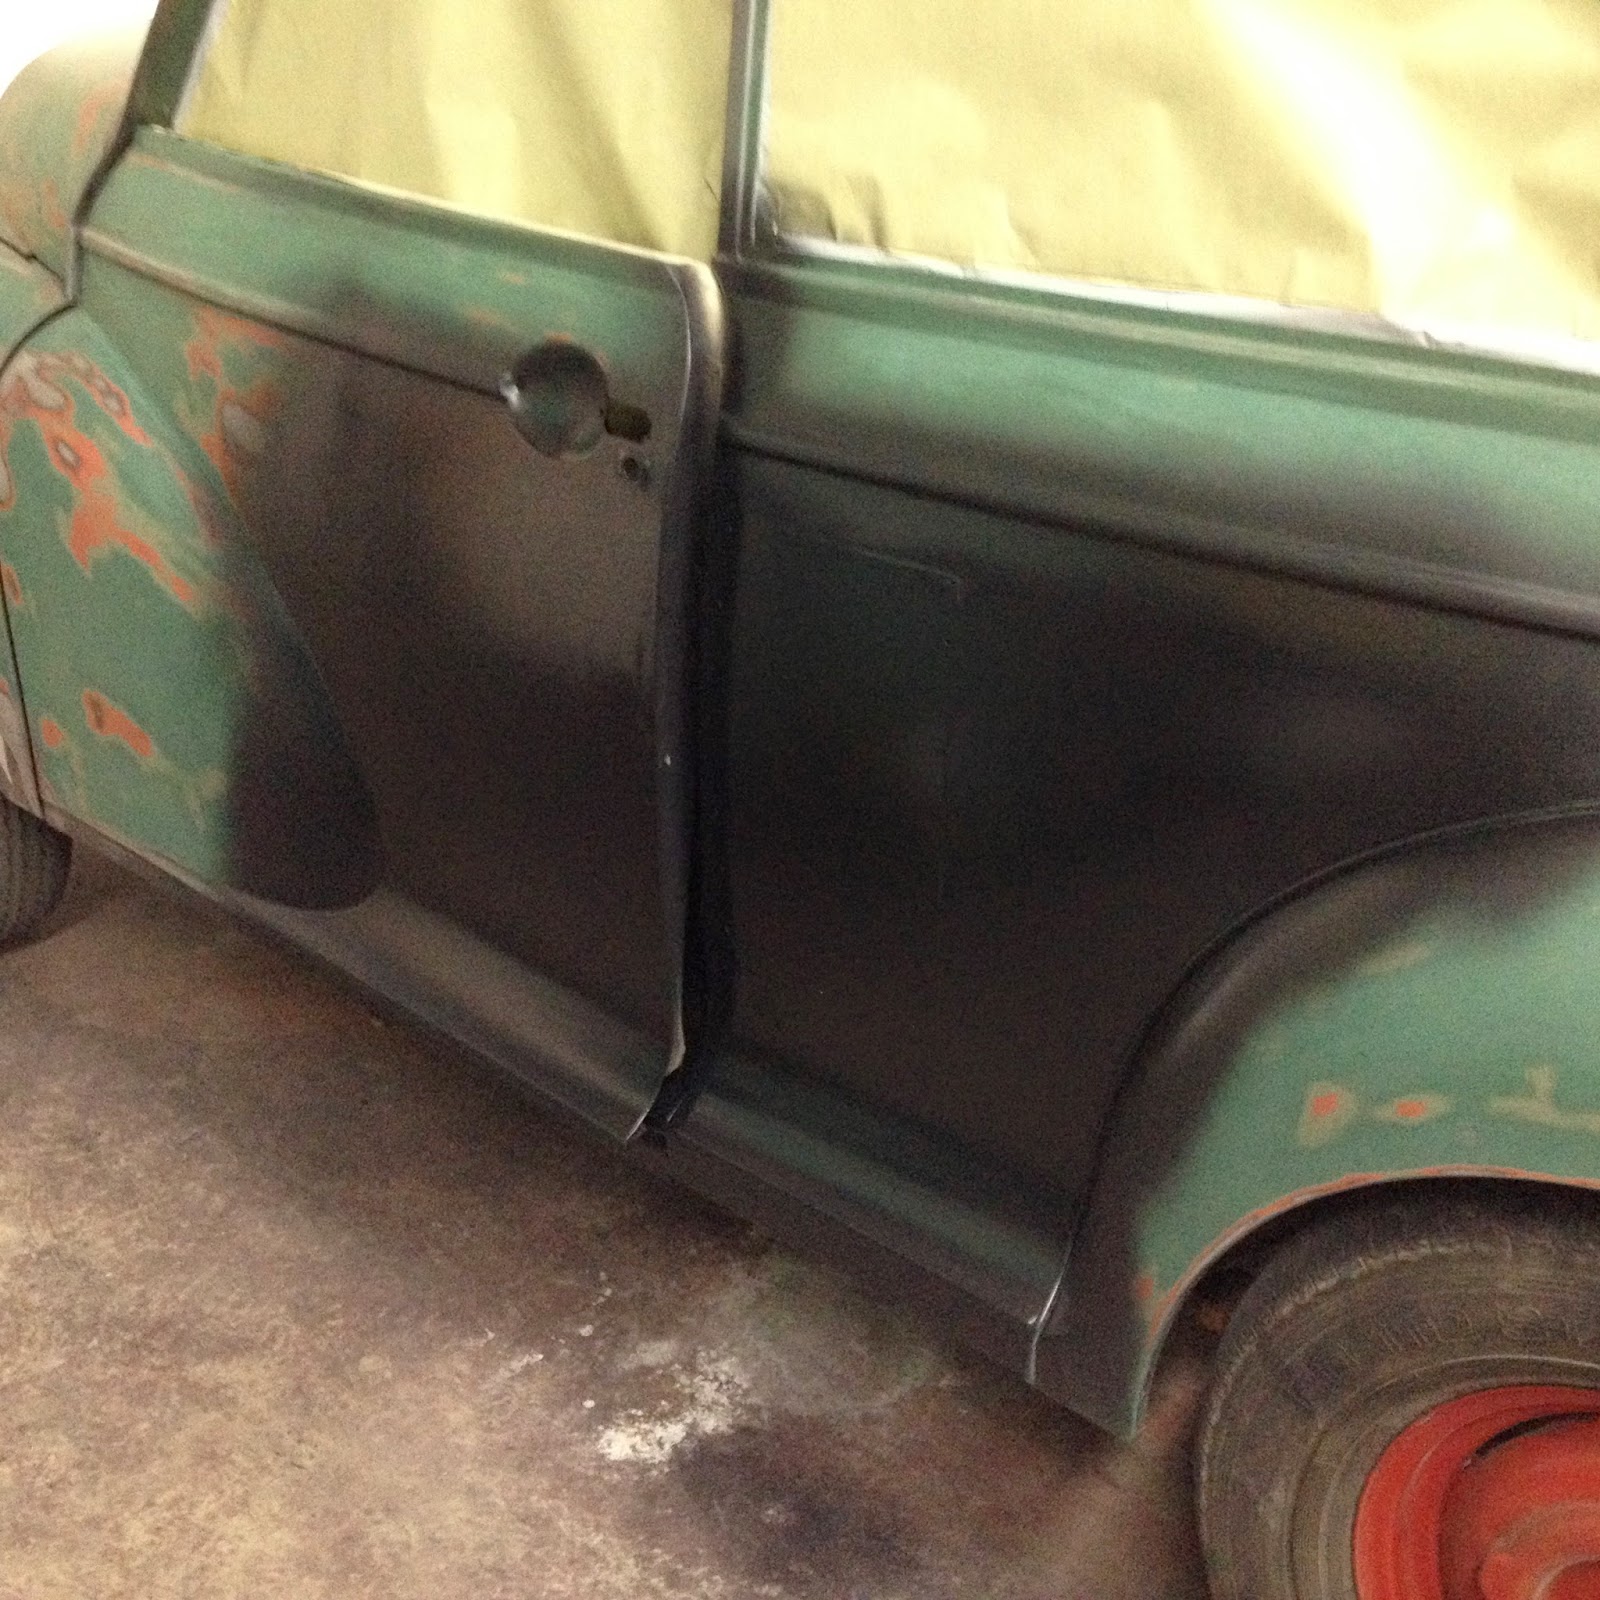
The next step in the body prep process is to apply the primer.  The entire body has been sanded with 40 grit paper and etching primer was applied to the bare metal.


It is difficult to detect flaws in the body when it is so many different colors.  The application of primer reveals the problem areas.  Sanding the primer with a long sanding block (blocking) reveals even the slightest flaw.  
Amazingly, this car's body is in terrific condition with only a few problem areas.  Most of those areas are "parking lot dings".
Bill received the new steering wheel Wednesday and brought it to the shop today to make sure the adapter hub fit the steering column.  It was a perfect fit.  


Stay tuned...
Tom McCurry
Tommy's Topless Cars
843.338.2253

Wednesday, March 25, 2015

READY FOR PRIMER

It has taken more time than I thought to prepare the body for primer.  Initially, I was confident that the gray paint could merely be sanded with 40 grit paper and primed.  However, if you recall, the gray paint began to "flake" as it was being sanded.  Therefore it was necessary to remove it entirely.  If that was not time consuming enough, we discovered some previous body damage that required the installation of a patch panel.

The removal of the gray paint is now complete and the patch panel has been installed, filled and sanded.  We are now ready for primer.  
Tomorrow morning Morris will be moved to the spray booth and cleaned several times with metal cleaner.  Three medium coats of polyester primer will be applied and the body work and blocking will begin Monday.
The next time you see Morris, he will be one color instead of five.


Can't wait...
Tom McCurry
Tommy's Topless Cars
843.338.2253

Monday, March 23, 2015

PATCH PANEL BODY WORK COMPLETED

Previously, we discussed the installation of the patch panel.  Today, I completed the bodywork.
As pictured in the photo to the left, I fabricated a plywood template using the undamaged panel on the other side of the car.  The template is wedged in place by three 1"x 1" wood strips  and the filler is then applied using the template as a guide.


Fill and sand, fill and sand, fill and sand and fill and sand...until you get it right.  I sprayed primer on the repaired areas to make sure the bodywork was satisfactory.  Now the body exterior is prepared for the application of the polyester primer.  


Tom McCurry
Tommy's Topless Cars
843.338.2253


Saturday, March 21, 2015

BODYWORK AT PATCH PANEL

Cutting, fitting and securing a patch panel is only part of the process.  After the initial coats of primer are applied to the patch panel and surrounding areas, the primer should be given ample time to cure.  When properly cured the primer should sand easily without clogging the 40 grit sandpaper.  


In the photo to the left, you will notice that I am applying filler to the  door first.  The door sustained only minimal damage.  After it is repaired, I will use that surface as a guide to contour the patch panel area.  
Also you will notice the adjacent areas have been masked to reduce the size of the work area.  


Tom McCurry
Tommy's Topless Cars
843.338.2253

Thursday, March 19, 2015

PATCH PANEL INSTALLED

Now that the opening for the patch panel has been prepared and the adjacent latch post has been aligned, we are ready to fit the new panel.


First, I clamped the panel in place and sized it by marking it from the inside. I cut the panel  1/2 inch larger.  This left the correct overlap.


The panel was then set in place with 3M Panel Bond and temporarily held in place with sheet metal screws around the perimeter.  The adhesive was allowed to cure over night and I removed the screws this morning.  The excess adhesive was ground flush with the patch panel and the surface was sanded with 80 grit paper.  The panel and adjoining surfaces were cleaned thoroughly with metal cleaner.


Finally, the damaged areas were primed with epoxy primer in preparation for the application of a minimal amount of body filler.  As you can see in the photo to the right, the panel is in its original position. After the body work is completed, the damage will be undetectable.


Tom McCurry
Tommy's Topless Cars
843.338.2253

Tuesday, March 17, 2015

ENGINE BUILDING CONTINUES

Paul and Ron were in the shop today to continue work on the 1275 cc engine.  The machine work has been completed and all the engine parts have been prepped for assembly.  Today we began the assembly.  Pictured to the left is, from left to right, Paul, me (Tom) and Ron.  Paul and Ron are expert engine builders that have retired from the trade.  They help us from time to time and their expertise is greatly appreciated.  We enjoy their stories and humor.
Today, the new freeze plugs, camshaft, crankshaft, timing gear assembly and seals were fitted.  Then the block was mounted on the engine stand in preparation of final assembly.  The pistons and cylinder head will be installed next.


Bill and I were otherwise occupied.  We were installing new rubber seals on the vent windows and window track felts on the operating windows. The surgeon, in the photo to the right, is Bill.  He is installing the new track felts.  Now, both operating windows are ready to install.
Stay tuned...
Tom McCurry
Tommy's Topless Cars
tommystoplesscars@yahoo.com
843-338-2253